How to Make a Sticker With Cricut: A Comprehensive Guide
Hey, I hope you are doing well! Today, I am going to teach you how to make a sticker with Cricut. A few weeks ago, one of my customers messaged me on Instagram and requested that I create packaging stickers for his small business. Without thinking twice, I accepted the deal and started making his stickers.
I thought, why not write a blog on my website? That could be very helpful for beginner crafters like you. Making stickers with Cricut is one of the fun things to do, and I enjoy creating them. Throughout my crafting career, I have made many stickers that I generally use in my journal or diary.
You might wonder what Print Then Cut means on Cricut. But don’t worry, as I have already covered it in this blog. So, if you are also optimistic and want to know how to create a sticker or bunch of stickers on Cricut using a Print Then Cut feature, let’s jump on board with me.
What Does Print Then Cut Mean on Cricut?
The ‘Print Then Cut’ feature is one of the incredible features in Cricut Design Space. Using this feature, users can print their sticker images on a printer and then cut them on a Cricut cutting machine.
Sounds amazing! No?
Yes, the machine has a dedicated sensor that scans your printed images and then cuts them precisely. Several Cricut machine models, except Cricut Joy, are compatible with this Print Then Cut feature. Yes, you heard that right! You can’t cut your printed images on it because Joy doesn’t have settings for Print Then Cut.
Now, let’s shift our focus to the main tutorials, where you will learn the steps for making stickers with Cricut.
What Will You Need to Make Stickers on Cricut?
So, are you ready to learn how to make a sticker with Cricut? Great!! But do you know what items you need to make amazing stickers? If yes, then move ahead. If not, then gather the following items I have provided below:
Either a Cricut Explore or Cricut Maker
An Inkjet Printer
A Printable Sticker Paper (I am choosing white sticker paper)
Brayer Tool
Sticker Images
Okay! We have gathered the supplies needed to make packaging stickers. Now, let me explain the Print Then Cut feature on Cricut and how it is helpful in creating stickers.
If you are already familiar with Print Then Cut, then you can skip it and move to the next section, in which I have explained how to make stickers with Cricut.
How to Make a Sticker With Cricut Machine?
Now, you might have understood Print Then Cut and gathered the essential supplies to make stickers. Below, I explain how I created packaging stickers for my client. Read them carefully so that you can make yours.
Step 1: Creating Sticker Images
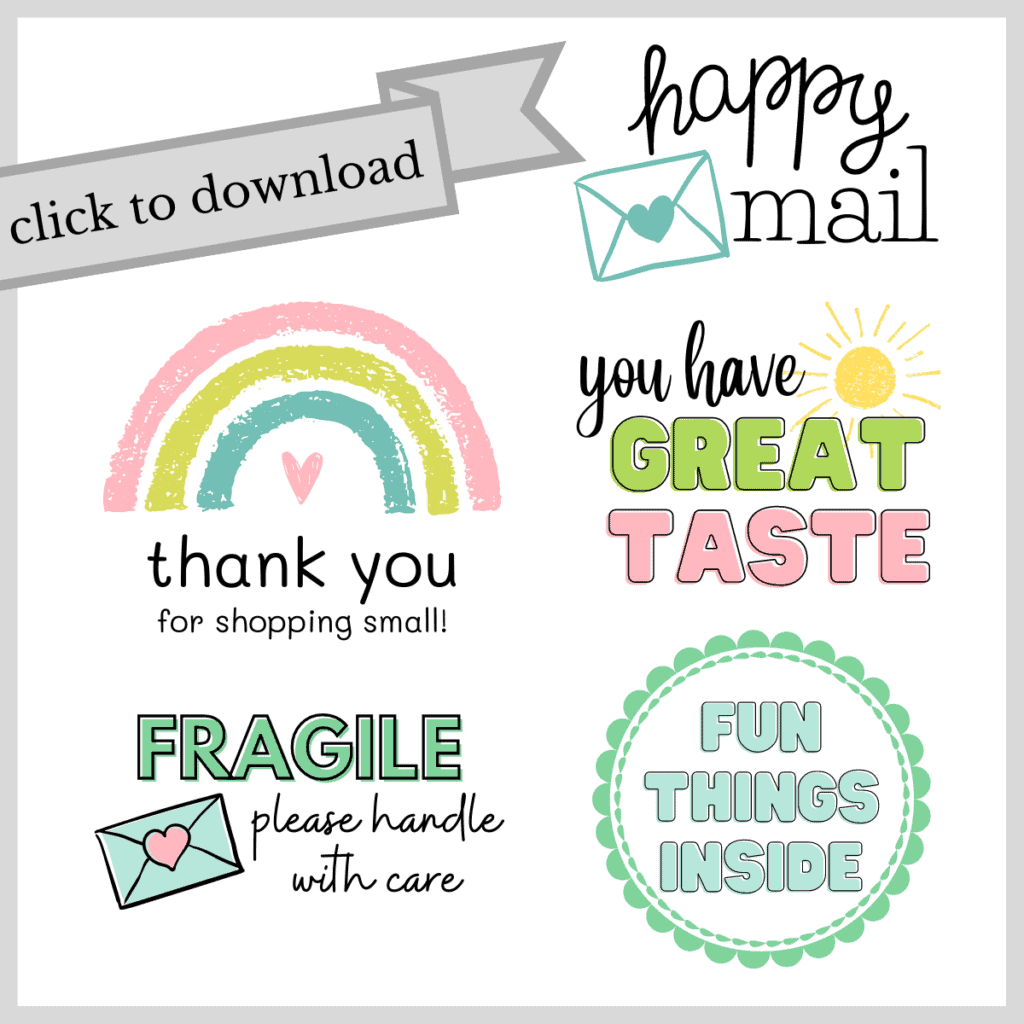
So, as per my customer’s request, I created some images of stickers. I then asked them for approval, which they gave in one go! To create stickers, open the Design Space and move to the Canvas. Afterward, add the images from Cricut’s resources or create your own.
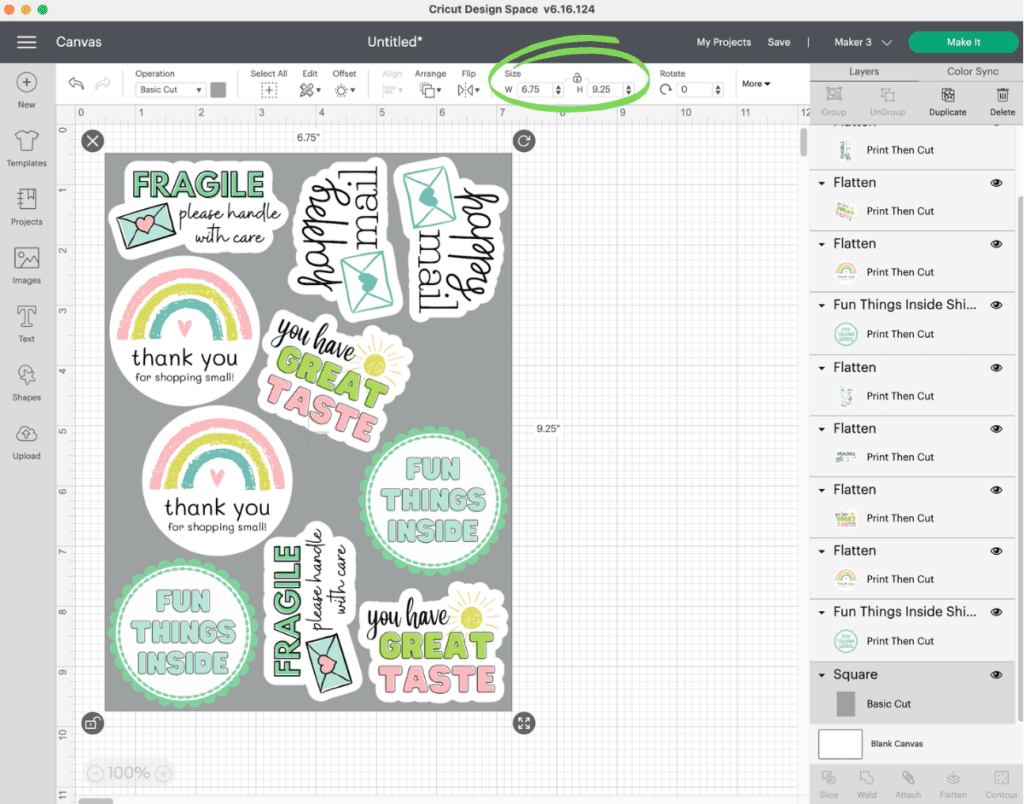
Here’s what I created on Cricut Design Space.

The first step was to introduce youto how to make a sticker with Cricut Design Space software, but there is much more to do in the upcoming steps. Let’s explore!
Step 2: Adding a White Line Around the Stickers
So, I wanted to add a white line around these packing stickers. It is superbly easy! Let me tell you how I added this using an offset tool.
First, I selected the image and created an offset.
Next, I dragged the slider until I had the amount of offset I wanted to add.
Then, I changed the color of the offset to white.
Finally, I selected both and flattened them.
Thus, I repeated this offset process with the rest of the images one after another.
Step 3: Arranging Stickers on a Cricut Sheet

In order to arrange the stickers on the stickers sheet, follow the easy steps below:
Create a rectangle, which should be 6.75” x 9.25” (the maximum size for Print Then Cut).
Then, change the color of the rectangle to something other than white so that your outlines are clearly visible.
Afterward, send it to the back of the canvas.
Lastly, you need to resize the stickers and arrange them within the rectangle.
Step 4: Printing All the Stickers
In order to begin the printing, you need to click on the Make it button (a green tab located at the upper right corner). After that, you will be moved to another screen where you can adjust the mat and project copies. Then, hit the Print button to start printing your images.

Next, select Use System Dialog to adjust the printer settings. After that, load the printable sticker paper into the printer and select the matte photo printing option. Finally, print the sticker images.
Step 5: Cutting Your Stickers
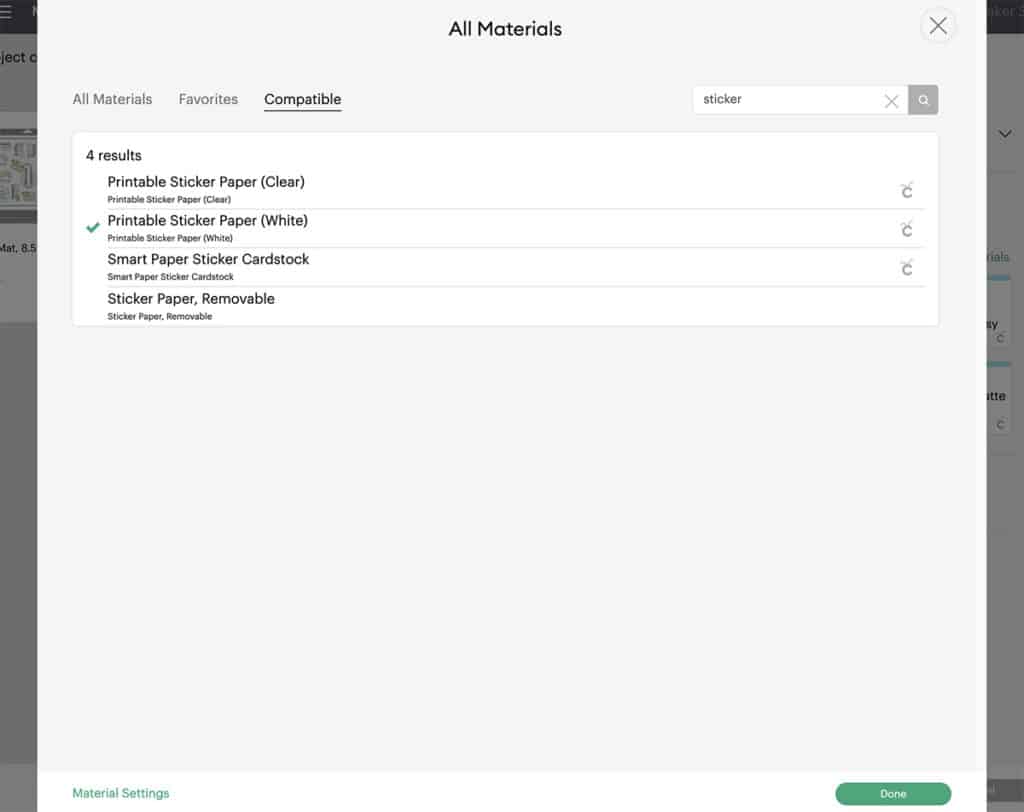
Now, set the materials to Printable Sticker Paper on Design Space.

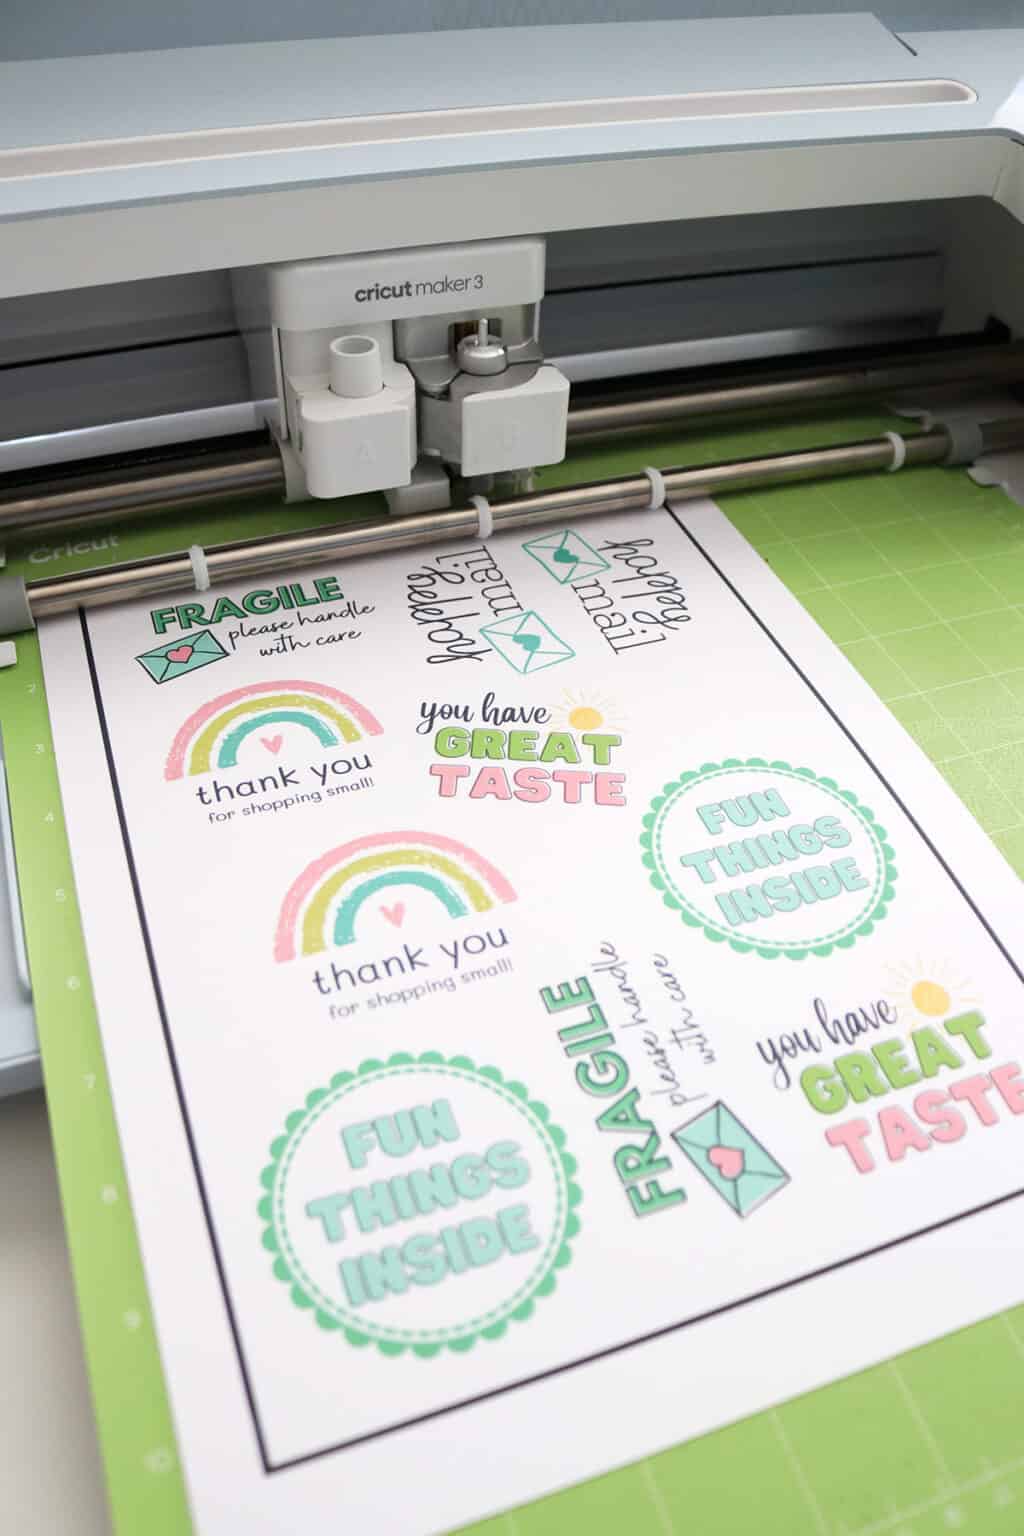
Eventually, press the Start button to start cutting it. Woohoo! You complete the process of how to make a sticker with Cricut.

That’s all in this tutorial. Just weed them out and use them anywhere you want.
FAQs
Question 1: What is the Create Sticker feature in Cricut?
Answer: Create Sticker is a new feature of Cricut Access that allows you to design custom printable stickers in a few simple steps. For this, you will need to create a sticker design using your text, images, shapes, and other fun features such as Warp or Monogram Maker. Afterward, you will need to select the Create Stickers option. Further, it will make your stickers printable, and hence, you can choose the sticker-friendly cut options, meaning you don’t need to deal with Offset, Flatten, or Attach.
Question 2: Which Cricut machine do I need to use for Create Stickers?
Answer: Create Sticker uses the Print Then Cut feature. Therefore, you will need machines that are compatible with this feature. These machines are Cricut Joy Xtra, any Cricut Explore series, any Cricut Maker series, and Cricut Venture. However, you can’t use Cricut Joy as it is incompatible with the Print Then Cut feature.
Question 3: What is the best printer to use for creating a sticker on Cricut?
Answer: Well, you can use the Canon TS3320 printer. This Canon-brand printer is the best option as it comes at a better price. This machine works really great with your Cricut machine and Print Then Cut projects. So, if you are looking for a compact printer that is well-built and affordable for everyone, then you need this Canon TS3320 printer.
Source :- https://newmachineprocess.com/how-to-make-a-sticker-with-cricut-a-comprehensive-guide/